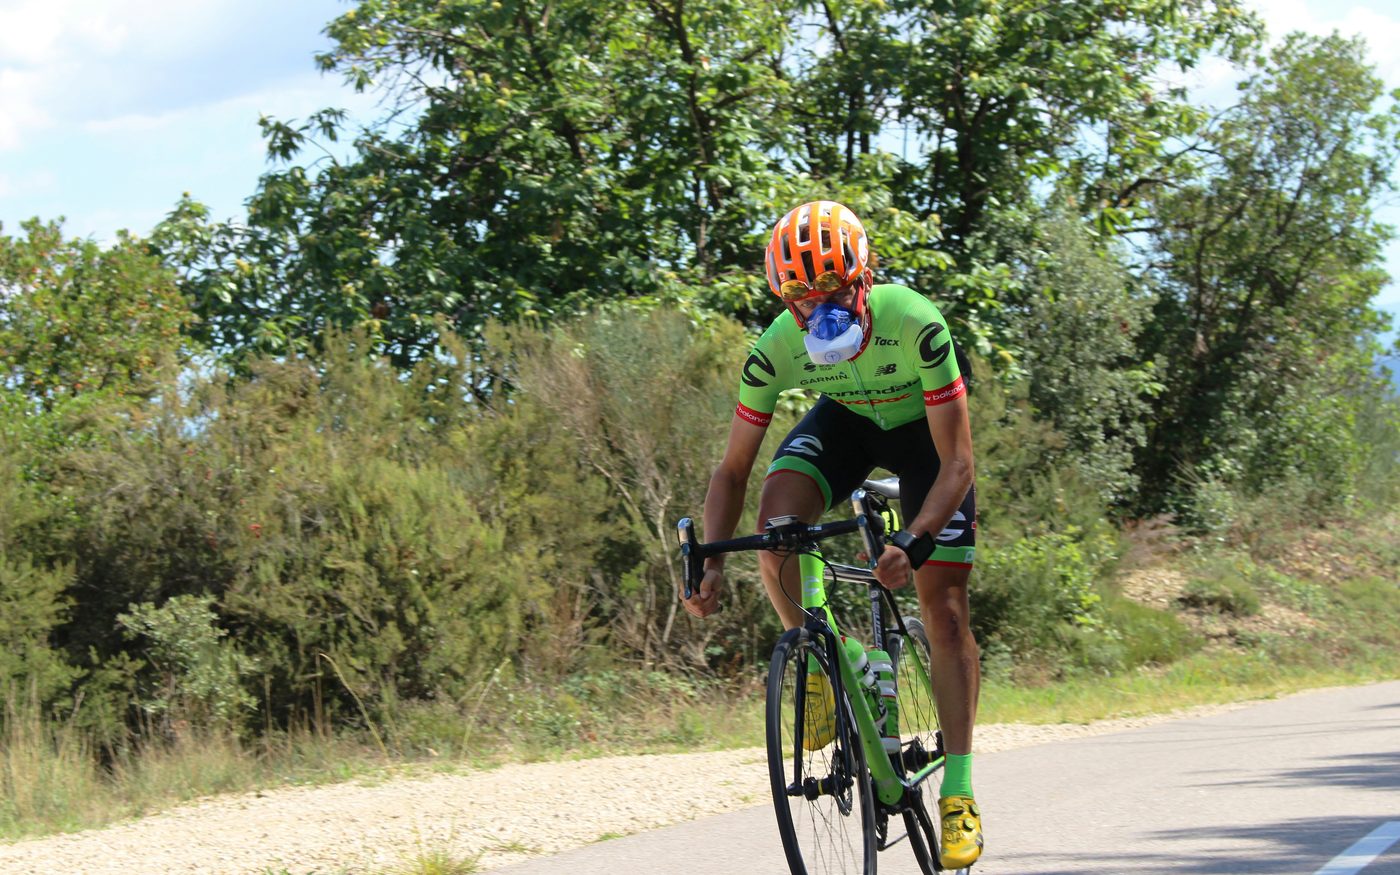
The Norwegian method made an uncomfortable idea fashionable: that training properly means measuring your lactate. Double thresholds, test strips, finger pricks between reps. It's what Ingebrigtsen and company do, and it works — for them.
For you, almost certainly, it isn't necessary. Not because lactate is useless, but because the number you'll actually act on comes out just as well from a properly executed field test. For a runner training 6 to 12 hours a week, the gap between measuring lactate and not measuring it is far smaller than the gap between testing well and testing badly.
This is the whole path: the test, the zones that come out of it, and the two sessions that genuinely move threshold.
What threshold is, in one sentence
It's the highest intensity you can hold before the effort starts getting away from you — roughly an hour flat out, for most people. Above that point your body produces more lactate than it can clear, and the clock starts running against you.
Strips give you that point with laboratory precision. A field test gives it to you with sufficient precision. And since every one of your zones is calculated from it, sufficient is exactly what you need.
The test: 30 minutes flat out
One test, and this is it:
Run 30 minutes at the hardest effort you can sustain. The pace isn't prescribed — you go at whatever you can hold.
Threshold pace = your average pace across the full 30 minutes.
LTHR (lactate threshold heart rate) = your average heart rate over the last 20 minutes.
The first 10 minutes get discarded for heart rate because your pulse is still climbing toward its plateau. Pace is averaged across the whole thing.
This is the only point in the method where feel overrides the number. Every other session gives you a prescribed target; here we're measuring where that target actually is.
How to execute it, which is where nearly everyone ruins it
A badly executed test doesn't give you a poor number. It gives you a false one, and you'll train off it for the next two or three months. That's worse than not testing.
- Early, cool, rested, fed and hydrated. Not at the end of a hard week.
- Flat, uninterrupted route. No traffic lights. If you stop, the test is void.
- Chest strap, mandatory. Wrist optical sensors are least accurate in exactly the range we're measuring.
- If it goes wrong, diagnose and repeat the following weekend. The two usual causes are GI trouble and pacing it badly. Fix them with a low-fibre day before, white carbs at breakfast, and coffee timed properly.
If you had to stop, you can salvage something by calculating off the last 10 clean minutes. But that's a fallback, not a result.
A race works too. Any genuinely all-out race gets cross-checked against threshold calculations. If you've just raced a 10K hard, you already have the data — don't add a test to tired legs.
Your seven zones, from that one number
With threshold, you have everything. We use a polarised 80/20 model with seven zones, not five. Percentages are of threshold speed (not of pace in min/km), of threshold power and of LTHR — and those are three separate tables, not one:
| Zone | % HR | % pace | % power |
|---|---|---|---|
| Z1 — RecoveryCirculation, mobility, active days off | 72 – 81% | 60 – 76% | 50 – 76% |
| Z2 — Aerobic baseWhere 80% of your volume lives. Real aerobic base | 81 – 90% | 76 – 87% | 76 – 88% |
| X — Upper aerobicMarathon pace. See below | 90 – 95% | 87 – 93% | 88 – 94% |
| Z3 — TempoExtensive threshold work. Key session | 95 – 100% | 93 – 100% | 94 – 100% |
| Y — Lower thresholdThe band around threshold. See below | 100 – 102% | 100 – 102% | 100 – 103% |
| Z4 — Upper thresholdIntensive threshold work. The other key session | 102 – 105% | 102 – 115% | 103 – 120% |
| Z5 — VO2maxShort reps, low volume, high cost | 105 – 120% | 115 – 140% | 120 – 150% |
Percentages of your threshold. The three columns don't agree, and they shouldn't: pace, heart rate and power behave differently at the extremes, which is why one table for all three was never right.
Check these percentages against your own test. They're the anchors we start from. The zones calculator does the arithmetic for you from your result — it's free and there's nothing to sign up for.
Zone X: the marathon-pace trap
Zone X is the upper half of zone 2 — roughly your marathon pace. We separate it from the rest of Z2 for a concrete reason: it accumulates considerably more fatigue than low zone 2 without delivering much more aerobic benefit in return.
It's the zone where most people quietly over-train. You head out for an "easy run", you feel good, the pace settles a few seconds quicker on its own, and you end up spending three sessions a week in X. It feels like training. Then you arrive at your quality day with no legs.
If your week has two hard sessions, everything else goes in low Z2. Not in X.
Zone Y: neither one thing nor the other
Zone Y is the band right around threshold, the lower part of what most plans call zone 4. We separate it because the real benefits of zone 4 show up higher, and because training in Y feels hard without quite being hard.
Y isn't forbidden — it's where transitions and the tail end of some tempo runs naturally land. But it isn't where you program a whole session. If you're going to pay the cost of a hard session, pay it above Y.
The two sessions that move threshold
Everything above exists so these two can be prescribed properly. A typical threshold-building week has one of each, with low Z2 in between.
Extensive: 30 minutes continuous at 95–100%
Continuous, no breaks, just under or right at threshold. It's the session that shifts threshold upward the most, and the easiest to ruin: go out at 105% because you feel good and it falls apart at 18 minutes, and the session loses its point.
Progression across a block is lengthen before you accelerate: 20' → 25' → 30' → 2×20' at the same intensity. Only once 30 minutes sits comfortably do you raise the pace, and that normally means it's time to re-test.
Intensive: 3 × 15 minutes at 100–103%
With 2 to 3 minutes of easy jogging between reps. At threshold or just above, in chunks you can hold with good form.
One clarification that matters: the higher the percentage, the shorter the rep has to be. 3×15 works at 100–103%. If you want to work at 105%, the session is 5×8 minutes, not 3×15 — at that intensity, 45 minutes of work isn't sustainable for anyone who doesn't do this for a living.
The percentages are of speed, not of pace in min/km or min/mile. 103% of threshold means 3% faster. If your threshold is 4:00/km (6:26/mi), 103% is about 3:53/km (6:15/mi) — not 4:07.
The internal markers of threshold
Threshold is not a fixed number on a screen. It is a metabolic state. It is the highest intensity you can maintain where your body clears lactate at the same rate it produces it. Cross that line, and blood lactate accumulates exponentially. Fatigue follows shortly after.
Because it is a physiological tipping point, your body broadcasts physical signals when you reach it. You do not need a needle to find it. You need to pay attention to your ventilation.
As you approach threshold, your body's demand for oxygen and its need to expel carbon dioxide rise sharply. This triggers the second ventilatory threshold (VT2). Your breathing rhythm shifts fundamentally. If you run your easy miles breathing in for three steps and out for three steps, threshold pace will force you into a strict two-in, two-out, or two-in, one-out rhythm.
You can no longer speak in full sentences. You can manage two or three words at most. If you can hold a conversation, you are below threshold. If you are gasping and cannot maintain a rhythmic breathing pattern, you are above it. That narrow band of controlled, rhythmic, deep respiration is your target.
Executing the sessions by feel
A standard threshold block includes one extensive session and one intensive session per week. Structured workouts are synced to your watch via FIT file, giving you a prescribed pace based on your test. But this is where RPE and breathing rate take over.
You are taught to self-correct mid-session. Your goal is to hit the physiological target, even if it means overriding the watch.
If your threshold pace is 4:15/km, but you are running in 32°C heat with high humidity, holding 4:15/km will push your heart rate into Zone 5 and shift your breathing from rhythmic to erratic. You are no longer training threshold; you are training VO2 Max. Your body does not know what a kilometer is. It only knows the physiological stress it is under.
Listen to your breathing. If you lose the two-in, two-out rhythm and start gasping, you have crossed the line. Back the pace off by 5 to 10 seconds per kilometer until your ventilation stabilizes. You are now back at threshold, regardless of what the pace field on your watch says.
Apply the model to your own training: You can calculate your exact 7-zone breakdown based on your 30-minute test using our free zones calculator. It handles the arithmetic and outputs your precise pacing bands.
How often to re-test
Every 2 to 3 months if you're training consistently. Two signals to bring it forward:
- Perceived effort dropped at the prescribed paces, and decoupling between heart rate and pace is low or negative. Translation: you improved and your zones are stale.
- You're back from an interruption — illness, travel, irregular weeks. Two comeback weeks first (easy Z1–Z2 plus activations), then test. Expect a lower threshold. That's normal, and adjusting now saves you six weeks of training above where you actually are.
Coach's note
With every athlete who starts, I prescribe a threshold test per sport in the first few weeks. If they were already active, we test in week 1. If not, we do two weeks of base and activation and test after that — testing someone detrained just produces a number that'll be obsolete within a month.
That first test sets the baseline. From there everything becomes verifiable: if your threshold is faster than three months ago, you improved. If you're holding a higher threshold heart rate, you improved. If the same pace now costs you fewer beats, you improved. That isn't a feeling or an opinion — it's the same test, repeated, with numbers you can compare.
That's what makes coaching data-driven rather than a motivational chat: we don't debate whether you're better, we measure it. And when the number doesn't move, we change the plan instead of asking you to try harder.
The zones calculator is free and public. The full protocols are in the Members Area.
This article has the method, and the calculator turns your test result into your seven zones for running, bike and swim — no login, nothing to sign up for. Behind the login are the step-by-step protocols, the sheet for tracking your tests over time, and how to load it all into TrainingPeaks.
They come with the All-Access membership (US$ 39.99/mo), along with every plan in the catalog and TrainingPeaks Premium.
The case for power, and why you likely don't need it
There is a valid counter-argument to relying solely on pace, heart rate, and RPE. Wearables like Stryd are objectively superior when terrain becomes a variable.
Pace is useless on rolling hills. Heart rate lags too far behind short, punchy gradients. Running power meters normalize the effort, allowing you to hold a steady physiological output regardless of the incline. For athletes using advanced software like WKO5, power data feeds complex models that calculate mFTP, Functional Reserve Capacity (FRC), and Time to Exhaustion (TTE). If your power curve plateaus, we can insert dedicated max-effort probes into your week to fix the model and refine your exact capabilities.
If you race on highly variable terrain, power is the priority metric. It removes the guesswork.
But if you are a budget-conscious amateur running on flat roads, canal paths, or a local track, the environmental variables are minimal. You do not need an advanced physics model to tell you that you are running hard. By maintaining strict discipline in your easy runs, executing a proper 30-minute field test, and listening to the hard biological marker of your own breathing rate, you can execute a Norwegian threshold block flawlessly.
So is measuring lactate ever worth it?
Yes. If you're a high-level athlete with high volume and years of base, fighting for the last 2%, lactate gives you resolution a field test can't. It's also how we know field tests work in the first place.
But if you train 6 to 12 hours a week, that 2% isn't your limiter. Your limiter is consistency, sleep, and not spending two months training off zones derived from a test you ran tired and through traffic lights.
Fix that first. The strips will still be there.